 |
| How to root Gionee M2017 |
How to root Gionee M2017
Hello Droid's Today we are going to show how to root Gionee 2017 device with very easy method.
As you all know gionee smartphones are one of the famous smartphones Series in India & Gionee M2017 is one the popular device from it.
Let's talk about what makes this device so special.
Gionee M2017 comes with 5.7 inches Full HD screen with ( 1440x2560) pixels with 13Mp (2160p) Powerd with Snapdragon 616 processor with 6GB RAM & 7000MaH Battery which is simply too much.
Note :- Rooting android device may void device warranty so proceed with caution.
Downloads/Requirements
- Gionee M2017 running latest firmware
- Working windows PC
- ADB Drivers for windows
Steps :-
- Download & install all required files from download section.
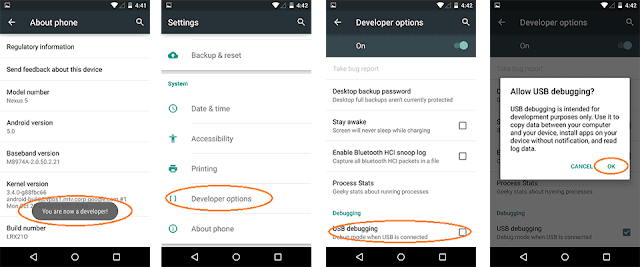
- Enable Developer options from settings/about phone/tap build no.5 times.
- Enable USB debugging from settings/developer options/usb debugging.
- Install ADB Drivers & RootKHP to your computer.
- Launch RootKHP application on your PC.
- Connect your device to pc via USB cable.
- Now RootKHP will auto detect your device, if not try reinstalling ADB Drivers.
- As soon as your device gets verified Hit root button from bottom of RootKHP screen.
- Sit back and let RootKHP root your device without any interruption.
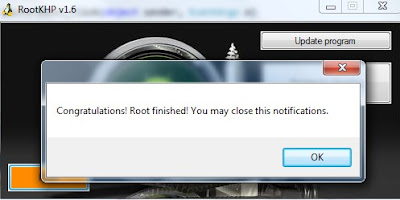
- You'll get following screen if everything goes right.
- That's it.
- You've successfully rooted your Gionee M2017.
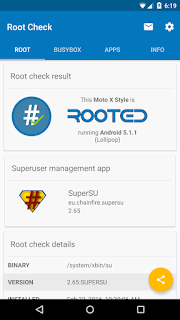
- Install root checker to verify root access.
Comment for queries........


0 comments:
Post a Comment