 |
| How to root Gionee X1 |
Hello & Welcome back,
Today we've come with our new tutorial about how to root Gionee X1.
As you all know Gionee X 1 is latest mid- range Android Smartphone which is launched by Gionee mobiles this month.
Today we're going to provide you the simple & effective tutorial about how to root this device without facing any major issues.
Note :- Rooting Android device may void your device warranty so proceed with your own risk.
Requirements & Downloads
- Enable Developers Options from Settings>About Phone Developers Options.
- Enable USB Debugging from Settings> Developers Options>USB Debugging.
- Install ADB Drivers in your PC.
- Download & Install RootKHP App in your PC.
- Launch RootKHP App in your PC.
- Now connect your device to pc via usb cable.
- RootKHP will auto detect your device.
- If not, Try to reinstall usb drivers or adb drivers in your pc.
- If your device is detected continue with the next process.
- Now open RootKHP App & Hit ROOT Button.
- Do not try to remove usb cable or interrupt this process.
- Your device will auto reboot after successful process.
- That's it. You've successfully rooted your device.
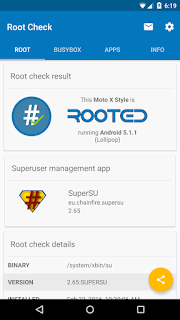
- Try to install root checker app to verify root access.


0 comments:
Post a Comment