Sometimes, Stock Android, or just one way of using your device isn’t enough for some people. They look for ways to diversify their devices. That’s where the idea of DualBooting on a single device comes in to play. This can normally be achieved with Personal Computers quite easily, like having 2 operating systems on 1 single machine’s hard drive, and having the option to boot into either of them at will. Now that Smartphones are getting more and more advanced, this technology and innovation has been brought to the mobile world. Let me introduce you to MultiRom.

MultiRom is a small, but very powerful utility that injects and installs itself into your Custom Recovery, assuming you have one and already know what it is. With this Tool, all you need to do is download the desired Rom in the form of a Flashable Zip, and you’re basically 50% done.
First things first, as with any procedure that modifies your actual software, you are recommended to make a system backup of your device, preferably a bootable/flashable file, just in case something goes wrong. I have covered how to make a backup in the past, so go check that out. After you’ve made a backup of your system, you will need to download the MultiRom Manager app. You can download Multirom from the Google Play store for free.
Once you have the APK, install MultiRom (or do it directly from the Google Play Store), and open up the app. MultiRom will ask for Root Access, something that is required before we start this process.
Enough of the pre-requisites, let’s get to the fun part shall we?
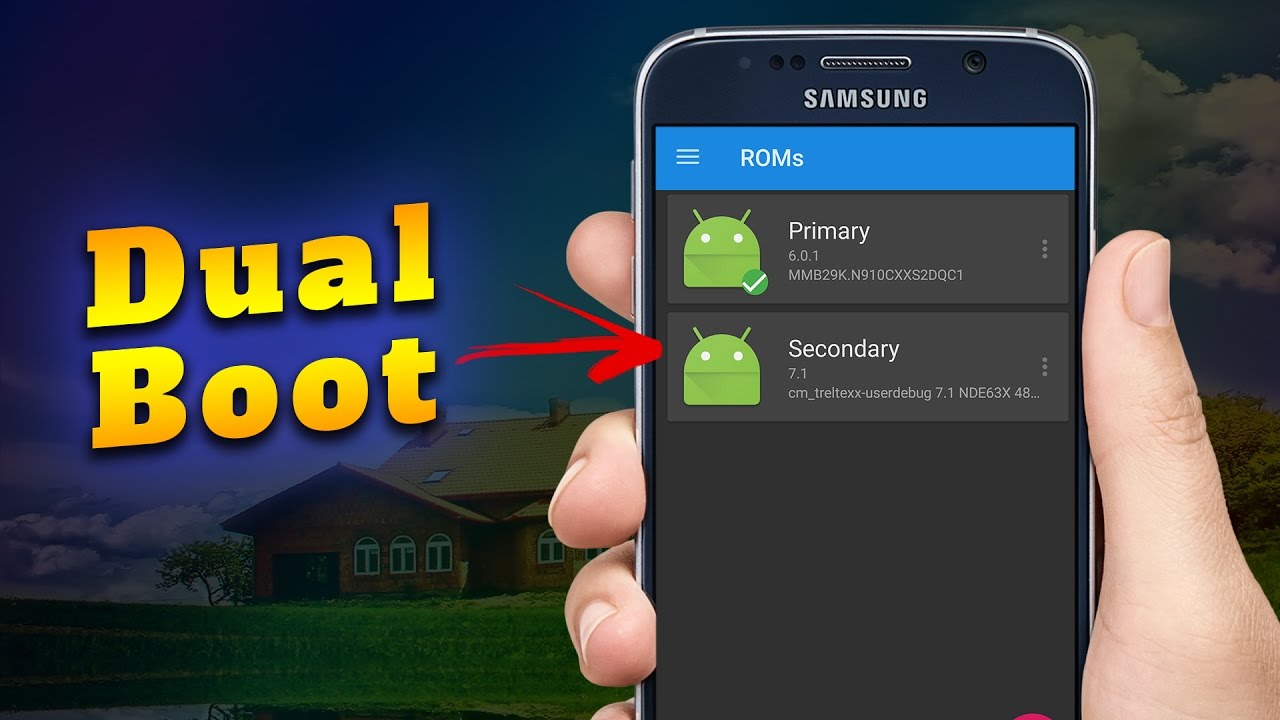
Once you open up the MultiRom Manager app and grant it Root Access, you will see that no required files that MultiRom needs to run are installed. You can see MultiRom itself, along with the Recovery patch, and most likely the Kernel, will not be installed. The screen that appears before you should look something like this.

Now, under the Install/Update, you should see Multirom and its current version, the recovery that is required to manage Multirom with, and the MultiRom Kernel (Kexec-hardboot patch), depending on the Rom you are currently running, whether it be Stock Android, or a Custom Rom. Just tick all 3 boxes to install Multirom, the recovery patch, and the kernel, and let it run for about 5 to 10 minutes. Once it’s finished installing, MultiRom Manager should prompt you to reboot into Recovery to complete the installation. Once you’ve entered the Custom recovery, it should complete the installation fairly quickly, and will soon reboot itself. Once your device reboots, you should be prompted with a Menu that you probably aren’t familiar with, but should expect.
A message will appear saying something similar like the device will boot into the internal rom in 5 seconds, unless you click cancel. You haven’t installed another Rom into MultiRom yet, so you should only see one option to boot into, and that should say Internal. Internal is pretty much your current Rom, or whatever you were using before installing Multirom. If you do not click cancel, your device will boot into the Internal Rom by default, so click cancel in the event you decide to boot into a different Rom.
Note that only Android based Roms are supported by MultiRom, so you should see a small message appear at the bottom of the screen in the MultiRom Manager app saying “Ubuntu Touch is not supported on this device.” This is normal, since Ubuntu Touch doesn’t officially support many devices, but both Ubuntu and Android are both Linux Distributions.
Now, in order for you to boot into a different Rom, first you have to download the different Custom Roms you want. The best and most popular Custom Roms will be listed below.
- Cyanogenmod (By far the most popular)
- SlimRom (May be called something else depending on Android version)
- Paranoid Android
- AOKP
- CarbonRom
Custom Roms are free to download, so head over to the Custom Rom Developer’s website, and download the versions of them,
(REMEMBER TO DOWNLOAD THE CUSTOM ROM THAT’S SUPPORTED BY YOUR DEVICE)

*Note that once you install your Custom Rom, Google Apps and Services will not be installed on it, so you will have to download something called GAPPS (Google Apps) for the respective Android version that the Custom Rom is based on, (E.G GAPPS for 4.4), so
go download the GAPPS zip file online, as we will be needing it later on after the Custom Rom is successfully installed.
Once you are back into your device’s Stock Rom, it’s time to boot back into Recovery. If you have advanced power menu enabled, hold the power button and select reboot, and recovery, if not, then power off your device and hold Volume down to enter Recovery. For this example, we will be using TWRP Recovery, as it is the default Custom recovery supported by MultiRom. Once you are in TWRP, click advanced. You should see a new option called MultiRom. Click that, and you can configure settings, as well as install your Custom Rom to boot from.
Assuming you now have your Custom Rom downloaded on your device, head over to “Add Rom.” You will see many settings on the screen. For Choose ROM type, leave it by default, which is Android. Share Roms with Internal ROM, just leave that as don’t share. You can also see where the Custom Rom will be installed to. By default it will list your internal memory, but if you have an SD card, or even a USB Flash drive that is plugged into your device VIA OTG cable, it will be listed there as well. So just pick the destination of where you want your Custom Rom to be installed/saved on.
Click next, and select your source of installing your custom Rom. 3 Options will appear, which include Zip File, Backup, and ADB Sideload. You should have downloaded your Custom Rom earlier in for form of a .zip file, so just select ZIP File. Next, you will navigate to the place where you downloaded your Custom Rom, which most likely will be located in your Downloads folder. So find that and select it. Once you have it selected, you will reach a page where it shows you to confirm flash. So swipe the bar to confirm the Flash, or installation of your Custom Rom, and let it install on its own. Once the installation has ended, do not be so quick as to click reboot.
Click the back button on the bottom right hand side, and head over to the List Roms option from earlier. Then, click on the Rom that you just installed, and click Flash Zip, which will flash the Zip file for that individual Rom. Now, remember when we mentioned earlier that Google’s apps and services aren’t included with the Custom Rom? Well, I hope you took my advice and downloaded the compatible zip file containing GAPPS, because you’re going to need them now. Click on Flash ZIP, and navigate to where you downloaded your GAPPS file. Next, swipe to confirm flash, and Google’s Apps will be installed on that Custom Rom. (This method is the same for any and every Custom Rom that you want to install, and you can install as many as your storage can handle) And we’re all done! Click back a few times and click on Reboot>system.
You should be prompted with the same interface as earlier when you installed MultiRom where it asks you which Rom you want to boot into. Click Cancel, as we do not want to boot into our internal rom. Now you should see your brand new installed Custom Rom name listed in the Boot options. Click on that, and confirm you want to boot into it.
Now the Custom Rom’s default boot animation should appear, so that indicates you’ve done everything right. Note that this simulates the process of a brand new fresh operating system being booted up for the first time, so the boot process should take a while longer, just wait a few minutes until you reach the device setup screen. And voila! You now officially have MultiRom all set up, configured, installed your first Custom Rom, and everything’s ready to go.
In the case that you want to uninstall MultiRom, just boot back into your Internal rom and head over to the Multirom Manager app, and click on the big trash can at the top right corner, as this just means the removal and deletion of MultiRom. Click on confirm delete, and follow the on-screen instructions for uninstallation.
And that concludes this tutorial on Multirom and Dualbooting on your Android device. If you have any questions or concerns feel free to contact us. If you enjoyed this tutorial, please share it with your friends on Facebook, Google+ or tweet about it.


0 comments:
Post a Comment